
Often the functionality of a home router is not enough and you want more protection. Today I will tell you how to make your own router out of a Raspberry PI. Here are just the basics. I leave the rest to you to figure out. The possibilities are endless.
The original OS is available for download here https://www.raspberrypi.org/downloads/raspbian/
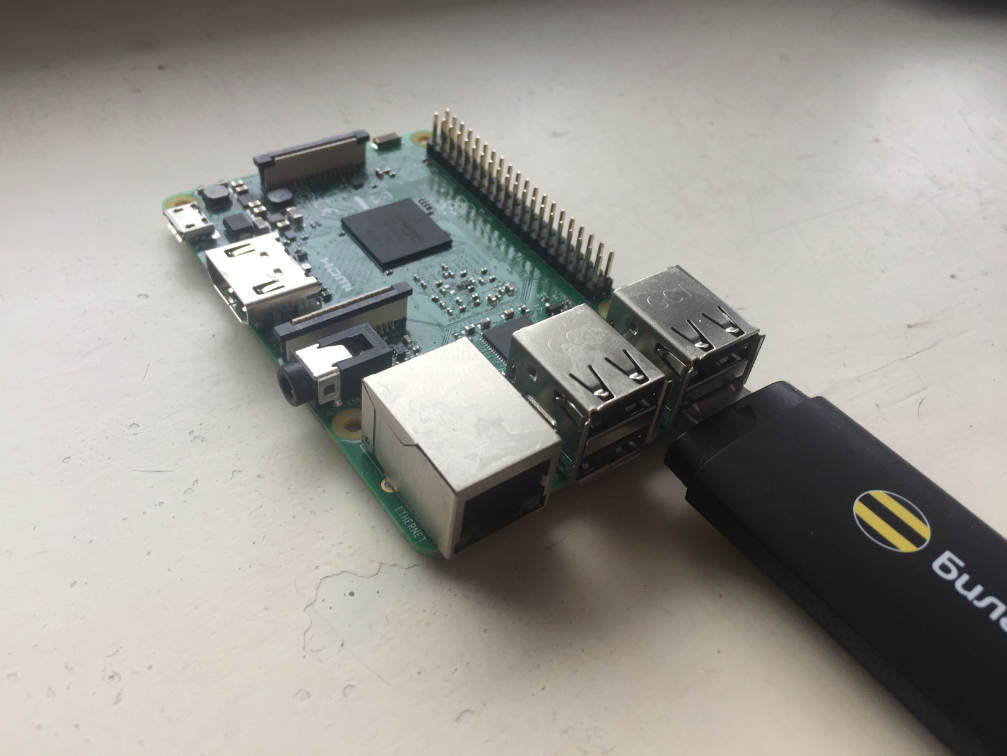
The router will “pick up” the internet via Ethernet or a USB 3G modem connected to it.
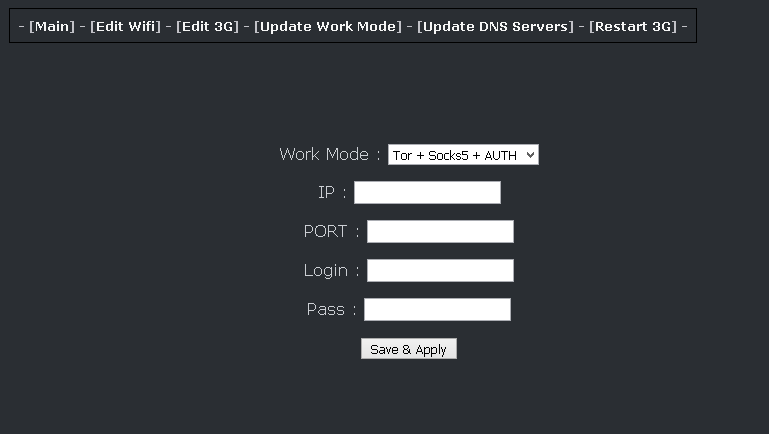
Next, the router has 3 modes of operation:
- TOR – (Works only through torus)
- TOR + SOCKS (TOR and on top of torus output uses regular socks5)
- TOR + SOCKS = AUTH (Tor, and on top of torus on the output normal socks5 with authorization is used).
Internet is distributed via WIFI.
You connect via WIFI to our router:
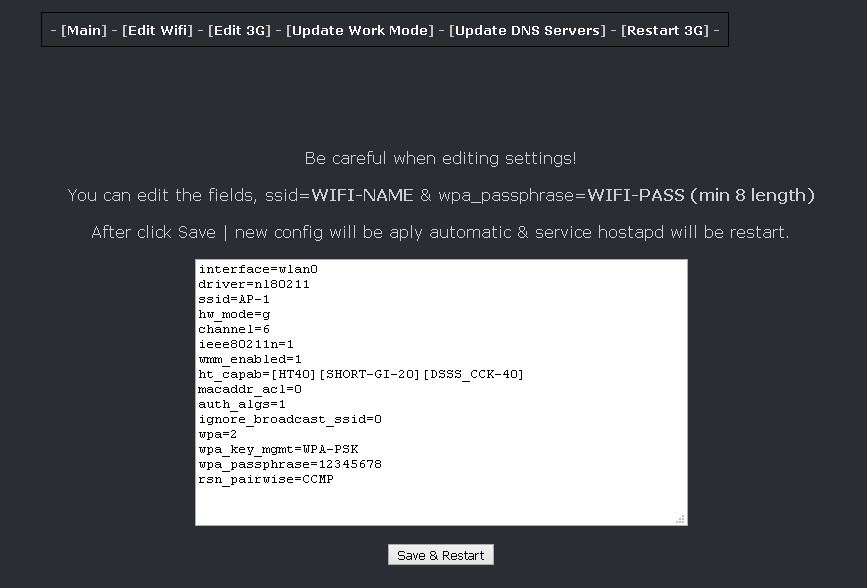
SSID : AP-1 Password : 12345678
And without any additional settings you get the Internet through TOR or TOR + Sox. Proxyfire and other things are not needed, everything is done on the router. All DNS requests go through TOR with the dns_tcp_proxy daemon.
What’s on the router itself?
3proxy – as a sox daemon in transparent + parrent mode
dns_proxy – for tunneling dns requests to torrent.
hostapd – for wifi sharing.
dnsmasq – for wifi IP stuff.
python3 – for the webmanager interface I wrote.
tor – for you know what.
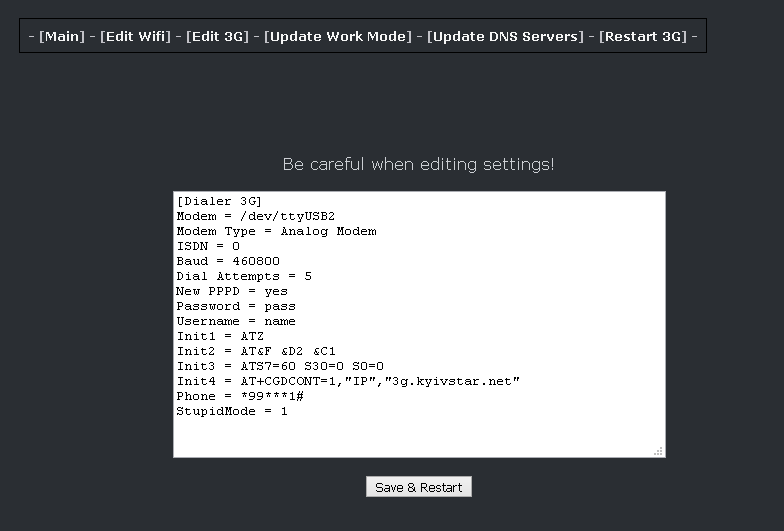
wvdial – for 3G modem.
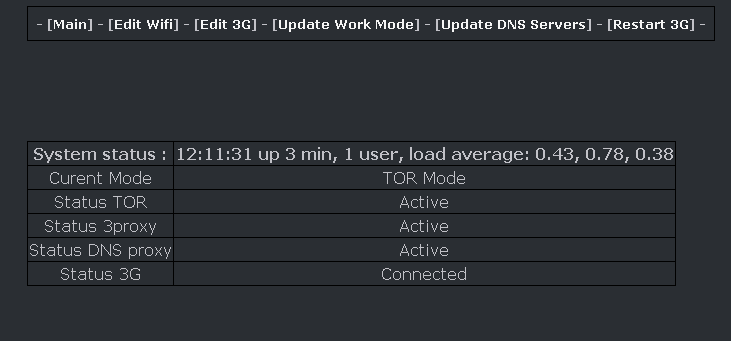
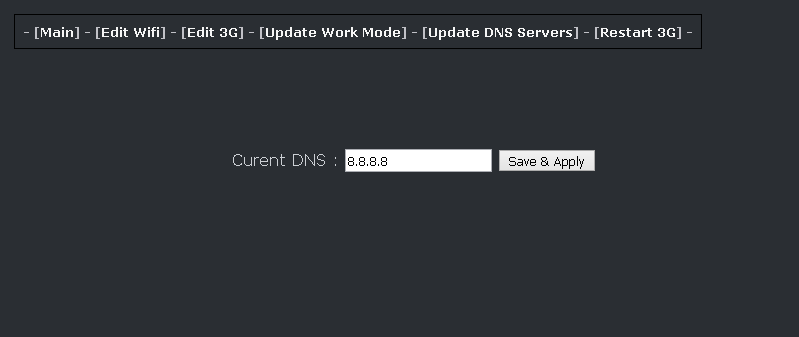
Screenshots of the interface:
Full image of Raspberri PI with all installed and fully working version you can download here.
The image is completely ready to work, write to SD card using etcher, and insert into the Raspberry PI.
The image is slightly modified, removed entry pi login only under root, SSH already enabled.
SSH login info:
Username : root
Pass : 123456
Everything else is default, just like in classic Ripbian.
At first startup you will need to expand the file system.
Type:
raspi-config
And then you will go to these menus:
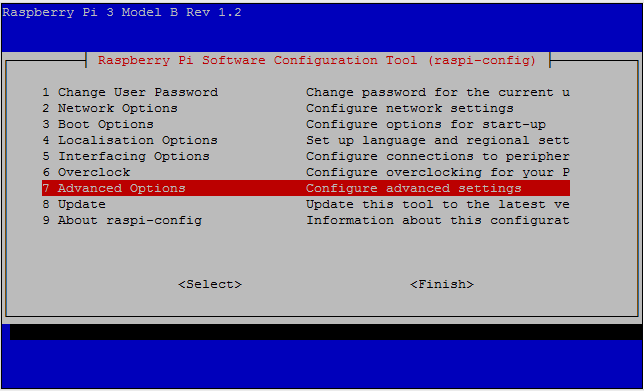
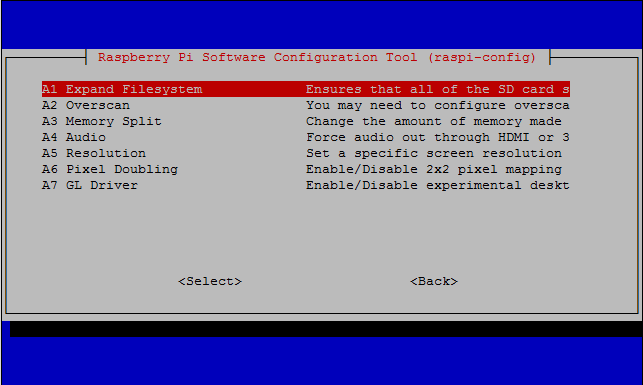
And agree to more space.
A variant for those who want to build everything themselves, on their own Raspberry PI with a clean debian stretch is here.
A short description of the process.
Downloading debian stretch
Record on the SD card, I recommend to record ethcer you can get here: https://etcher.io/
After the recording is done do not forget to enable ssh.
To do this again plug the SD card into the laptop and create a ssh file on the boot partition without the extension txt etc.
Safely remove the card and insert it into the Raspberry PI.
When the Raspberry PI boots, log on to it using ssh.
Username : pi
Password : raspberry
Then type sudo -s (go to root mode)
And download the installer
curl -O https://nova.ws/dl/release/pi_tor_socks/install.sh
When the download process is done, type
sh install.sh
The script will do the rest.
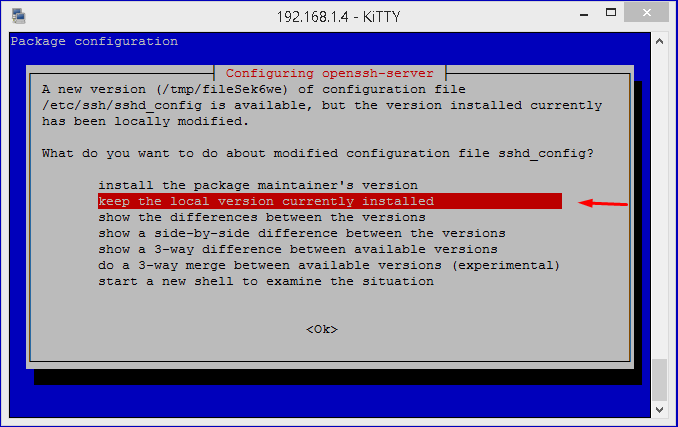
During the installation process you may have additional questions, here are the answers:


The router admin is available at: http//192.168.22.1:5000 (if you connect to it via wifi)
At the moment everything is tested, rewritten more than once, and seems to work correctly.
You can get ready configs here.
Python web interface can be downloaded here.
3G daemon is running by default, I have MF180 and MF667 start normally.
That would not have to change the port in the 3G configuration in the interface of the Raspberry PI.
We plug it into this port.
Update on github https://github.com/novaws/pi_tor_socks
Good luck.
Stay safe and take care of yourself.
Never use the methods described in the article. This article is written for informational purposes only. The author is not responsible for the application of the skills. Otherwise, you are breaking the law.